Magnets USA
  • Home
  • About
  • Blog
  • Products
  • Services
  • Marketing
  • Greeting Cards
  • Lifestyle
  • Holidays
  • Gifts
  • DIY

How to Carve Pumpkins with Tips, Tools and Ideas for Beginners

9/21/2021

 
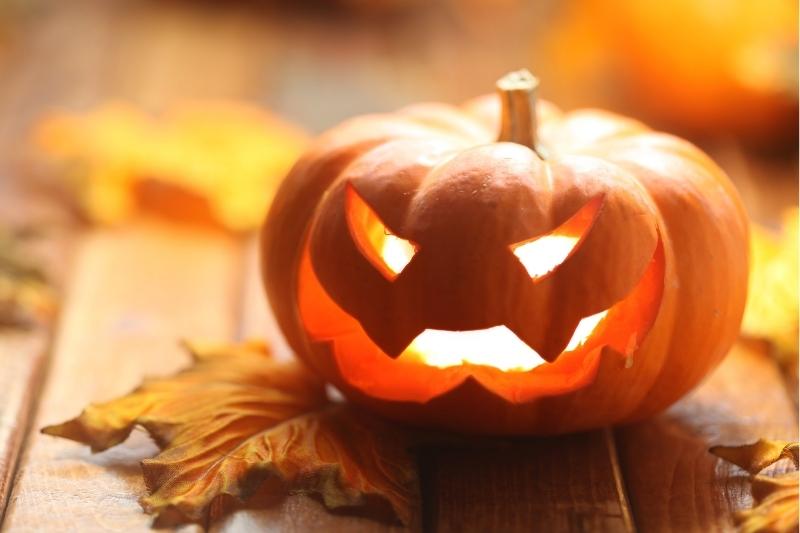
Learn how to carve pumpkins for your Halloween decorations this fall. This easy guide provides tools, tips, and ideas to help you plan and create the perfect jack-o-lantern.
Picture
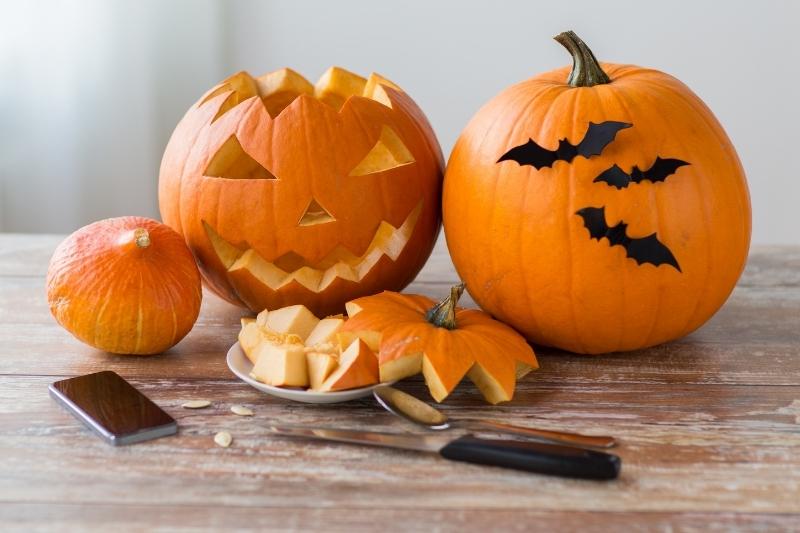
This is the year to become a pumpkin-carving pro. A jack-o'-lantern ace. A prince or princess of the patch. But you won't be able to succeed alone. No, you'll need an army of carefully crafted cutlery and insider intel. Luckily, we've got some great pumpkin carving tips to help you get started!

Where Did Pumpkin Carving Originate?

The custom of carving pumpkins to create jack-o-lanterns is believed to have originated in Ireland. Residents in parts of Ireland and the Scottish Highlands originally carved turnips and field beets, called mangle-wurzels, with grotesque faces to frighten off a drunkard from an Irish myth called Stingy Jack.
 
Prior to his death, it’s believed that Jack tricked the devil over a deal for monetary gain. When he died, he was denied entry into heaven. At the same time, the devil, upset by Jack’s constant trickery, also refused him admittance. As a result, Jack was sentenced to roam earth for all eternity.

When Irish immigrants came to America, they brought this tradition with them. However, they chose to carve pumpkins for this purpose as they were native to the region.
Picture
The Celtic festival Samhain marks the end of summer and the beginning of the new year on November 1st. During this time, it’s believed that souls who had died would return to visit their homes.
 
When the Roman Catholic Church moved All Saints’ Day to the first of November, All Hallows’ Eve fell on the day prior. Keeping with Samhain tradition, people began to wear disguises to hide themselves from wandering ghosts. Around the same time, the tradition of carving turnips to ward off Stingy Jack was also incorporated into the holiday to ward off evil spirits.
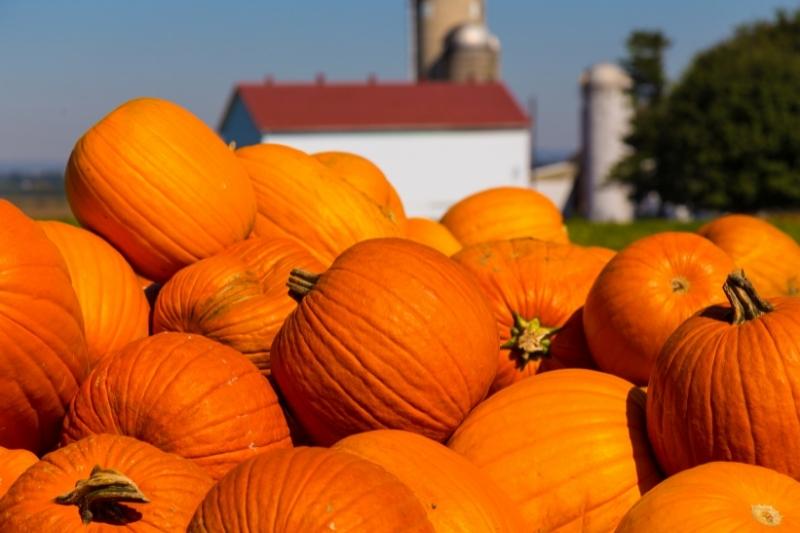
Picture

What is the Best Pumpkin for Carving?

Before you carve a jack-o-lantern, you need to pick a pumpkin. You want to choose a carving pumpkin, rather than one meant for pies for the best results. Carving pumpkins have a thinner rind that’s well suited for carving. They also have less flesh on the inside.
 
Jack-O-Lantern pumpkins are the best, and most popular, type of pumpkins for carving. They have thin walls that make them easy to cut. Plus, they’re readily available throughout the season at most grocery stores. Assuming you don’t have the chance to visit your local pumpkin patch.
 
Other suitable pumpkins varieties you can use include:
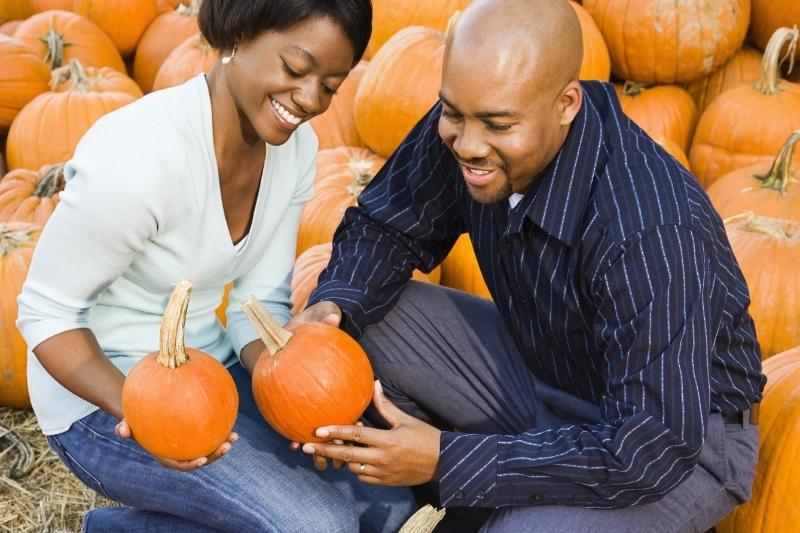
 
  • Hobbit Pumpkins
  • White Lumina Pumpkins
  • Cinderella Pumpkins
  • Autumn Gold
  • Gold Rush Pumpkins
  • Wolf Pumpkin
Picture

How to Pick a Pumpkin

Following are some easy guidelines for picking pumpkins to carve:
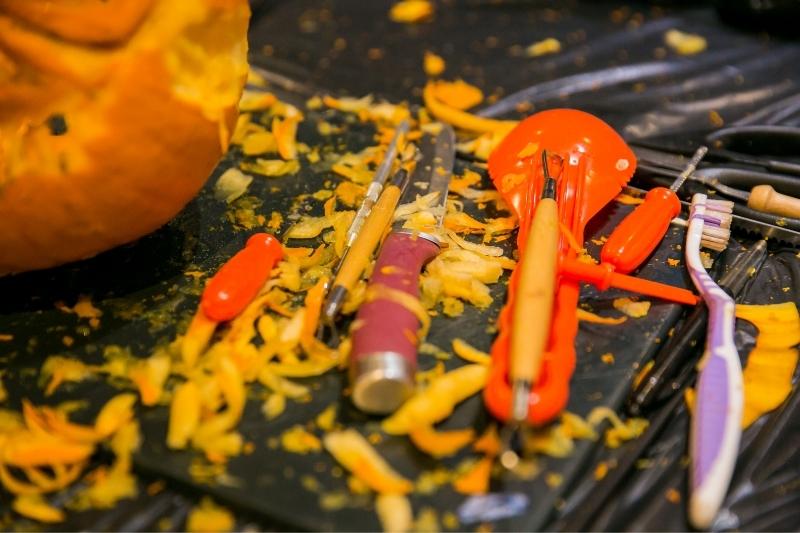
 
  • Choose pumpkins with a hard shell that will stand up to carving, but that is easy to cut through with a knife. If the shell feels as hard as wood, pick another one as cutting through especially hard shells can be dangerous.
  • Thick walls can prevent light from showing through the inside of your jack-o-lantern. Therefore, choose a gourd that has thin walls. Pumpkins with thinner walls have a hollow sound when tapped. While heavier pumpkins have thicker walls.​
Picture
  • Pumpkin varieties such as Baby Bear, Baby Boo, and Wee-B-Little are small pumpkins that shouldn’t be discounted. These are the perfect size for kids to carve if you don’t need a giant jack-o-lantern on your front porch.
  • While the shape of tall, oblong pumpkins may be appealing and work well with your design, they do have limitations. Tall, thin pumpkins may not balance well or can fall over easily. Therefore, be sure any pumpkins you pick have a balanced base. Also, keep in mind that oblong varieties often have stringy insides that can make precise cuts more challenging.
  • Ensure that the bottom of the pumpkin isn’t soft or mushy. You also want to choose winter squash that has a flat bottom, so it doesn’t rock or roll.
  • The stem of your Halloween pumpkins should be firm and secure. You also want to take care that you don’t pick up the pumpkin from its stem. This can cause breakage which diminishes its shelf life.
  • Choose pumpkins with a smooth surface to make carving your designs easier, assuming it fits the look you’re after. You also want to avoid produce that is bruised or has a marred surface.
Picture

Best Pumpkin Carving Tools

By choosing the best pumpkin carving tools to create your jack-o-lanterns, you’re more likely to succeed in designing the perfect Halloween décor. Here are the top tools for carving unique pumpkin designs.
 
  • Quality Kitchen Knives. Say BOO! to those tiny, plastic pumpkin carving kits that break mid-cut, and hello to sharp cutlery that's heroic enough for the job! For our Magnets USA-inspired pumpkin, we chose our LifeLong Cutlery paring (left) and filet knives. However, you can use any sharp knife that’s sturdy enough to handle the task. Or try a keyhole saw for curved cuts.
  • Kitchen Scrapers. While our Super Scrapers are great for cleaning messy pans, they also perform extra tasks with ease. One of those duties includes scraping out pumpkin guts. This tool is an easy way to remove the innards from winter squash so you can get down to business. You can also use and ice cream paddle or scoop as well as a small, serrated fleshing tool used in ceramics.
  • Hole Cutters. Another tool utilized by potters, hold cutters are basically short metal pipes with sharpened ends. They can be used to create lace designs or punch clean circular shapes into pumpkin walls.
  • Needle Tool. For intricate designs you want to trace onto your pumpkin, consider a needle tool. This allows you to easily transfer your design onto any gourd so it’s easy to carve. You can also use a T-Pin as an alternative.
  • Linoleum Cutter. If you love detailed designs, then consider a linoleum cutter used to cut wooden blocks for printing. These tools are not only inexpensive, but they also provide different sizes and patterns to help your creativity flow. Likewise, X-Acto knives are also great for intricate details.
  • Cookie Cutters. Metal Halloween cookie cutters are a fun and easy way to cut out perfect shapes. Simply use a rubber mallet to tap the cookie cutters into the pumpkin rind.
  • Melon Baller. This kitchen tool is another great way to decorate Halloween pumpkins. Use it to carve spheres into the pumpkin shell for light to shine through when lit.
Picture

Pumpkin Carving Tips and Tricks

Now that you know how to choose the perfect Halloween pumpkin for carving, here are some tips to get the job done!
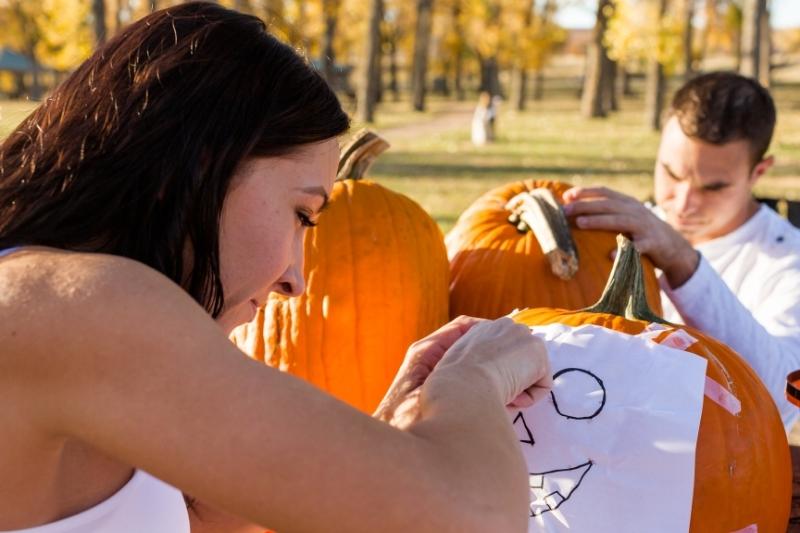
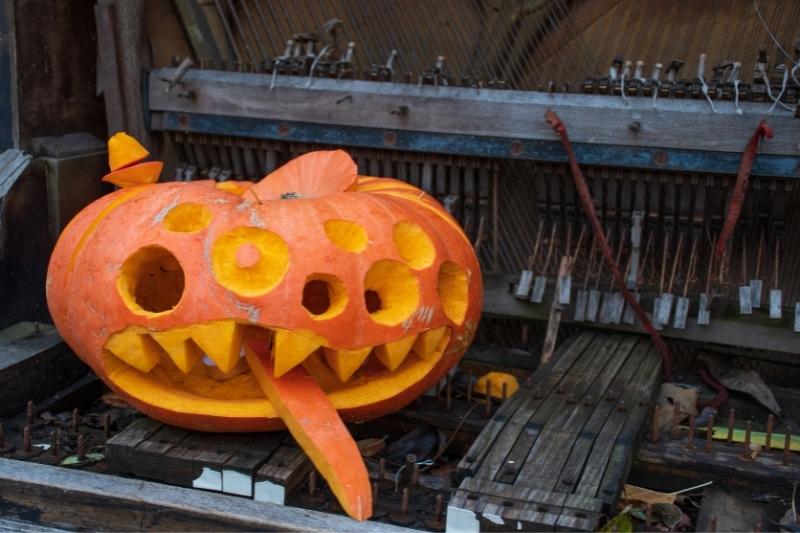
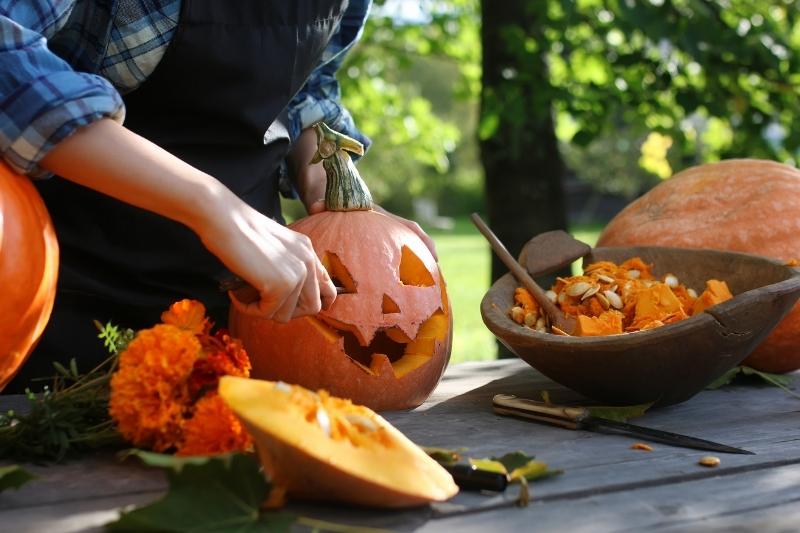
 
  • If you plan to use battery-powered lights in your jack-o-lantern, carve a circle out of the bottom to preserve the top. For candles or tealights, cut a hole in the top.
  • Make sure you buy a pumpkin with stem. A thick, green stem works best and indicates the pumpkin has thick walls as well.
  • Don’t be afraid to pick oddly shaped pumpkins. Depending on your design, the weirder the shaped, the more unique design you can create.
Picture
  • Scoop out as much of the pumpkin guts as possible. The thinner the walls, the longer your pumpkin will last. This will also help to delay mold growth.
  • Research design ideas before you start carving! This prevents mistakes and allows you to sketch out the design onto the pumpkin before you begin.
Picture
  • The easiest way to use a pre-made pattern or design you printed onto paper is to first tape the paper onto the face of the pumpkin. Then use a fork, pencil, or needle tool to poke holes along the lines you want to cut out.
  • Pumpkins don’t last forever. For the best-looking jack-o-lantern on the block, carve your pumpkin no more than two to three days prior to your event or Halloween party.
  • Light up your jack-o-lantern using an LED or CFL light. Other types of lights, as well as candles, give off heat that can cook the pumpkin form the inside, shortening its lifespan.
  • Make rough design cuts first to remove large pieces from the gourd. Once you the basics carved out, you can then go back and clean up the design or add additional details.
  • When cutting your pumpkin with a knife, use clean up-and-down slices. You want to avoid making cuts on a slant.
Picture
  • Keep your pumpkin scraps to create additional design elements for your Halloween jack-o-lantern. You can use these pieces to cut out a tongue, hair accessories, or other features from leftover chunks of pumpkin shell.
  • Save your seeds! Pepitas, or pumpkin seeds, are delicious when seasoned and roasted.

How to Carve Pumpkins for Halloween

Ready to carve a jack-o-lantern? Here is how to carve your pumpkin for your Halloween decorations.

​
1. Choose the tools you need for your design. While a sharp knife is a must, you may also want to use some of the other instruments we mentioned previously to help you successfully execute your design. 
Picture
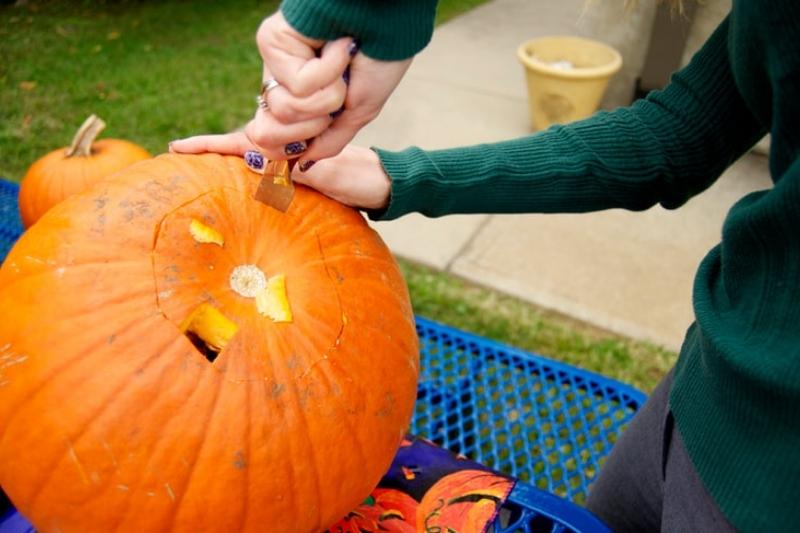
2. Start at the bottom of the pumpkin. Rather than cutting a hole around the stem to remove the top, make one at the base of the pumpkin instead. (If you're using a real candle, then cut a hole in the top for ventilation.)
Picture
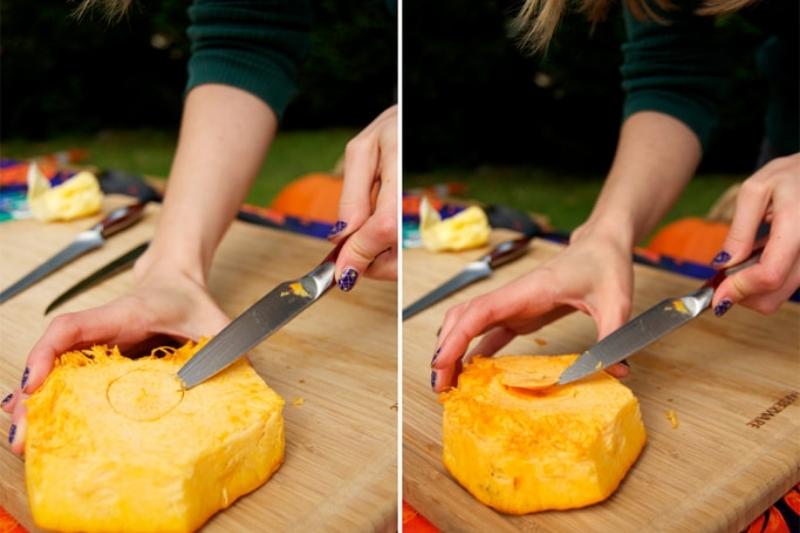
This way, you can place the pumpkin over the light, instead of having to reach inside the pumpkin to position the battery operated candle. Pro tip: With your paring knife, carve an indention for the LED tea light to sit comfortably. ​
Picture
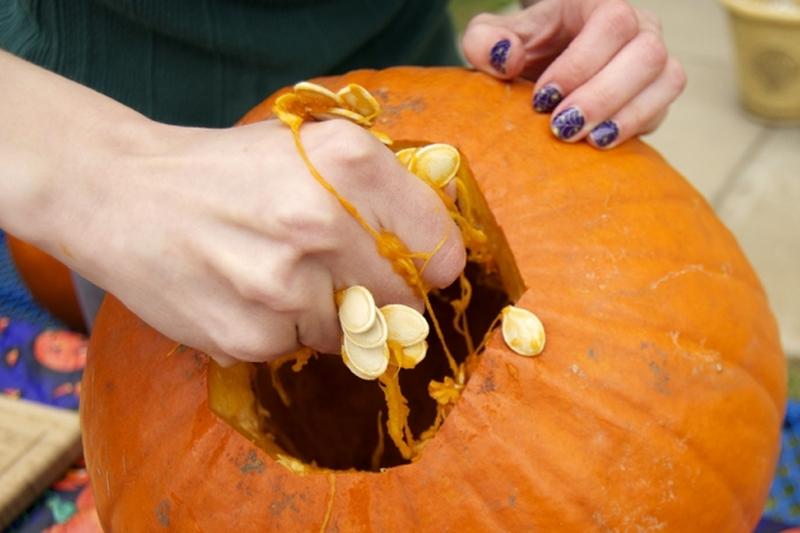
3. Remove the pumpkin guts. Arguably the best part of carving a pumpkin, removing the insides is the time to conjure that messy kid you used to be. So roll up your sleeves, put on your game face and go for it. You can wear gloves for this step, if desired. We recommend using you hands first to remove the loose material. Then try one of the suggested tools from scraping out the excess.
Picture
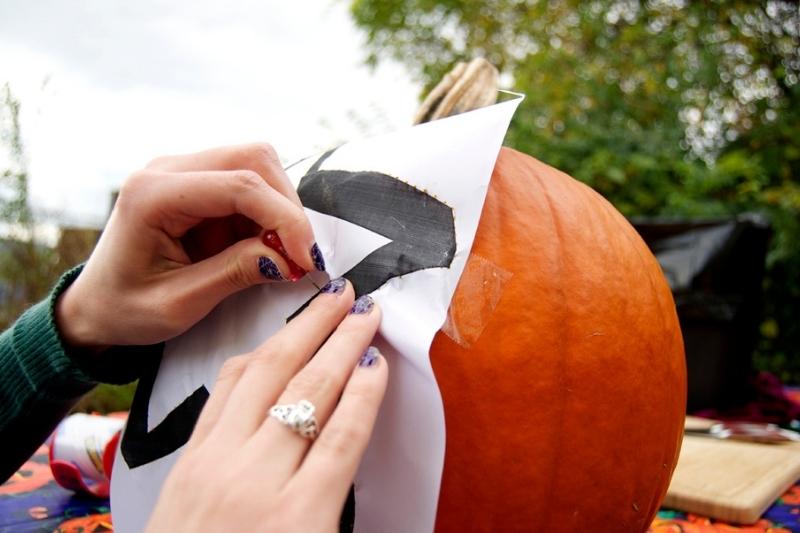
4. Use a needle tool to trace your design onto the pumpkin. With your design taped to the pumpkin, use a thumbtack to establish an outline. When it comes to jack-o'-lanterns, staying inside the lines is a good thing — and will help prevent your freaky Frankenstein or cackling cat from becoming one terrifying blob.
Picture
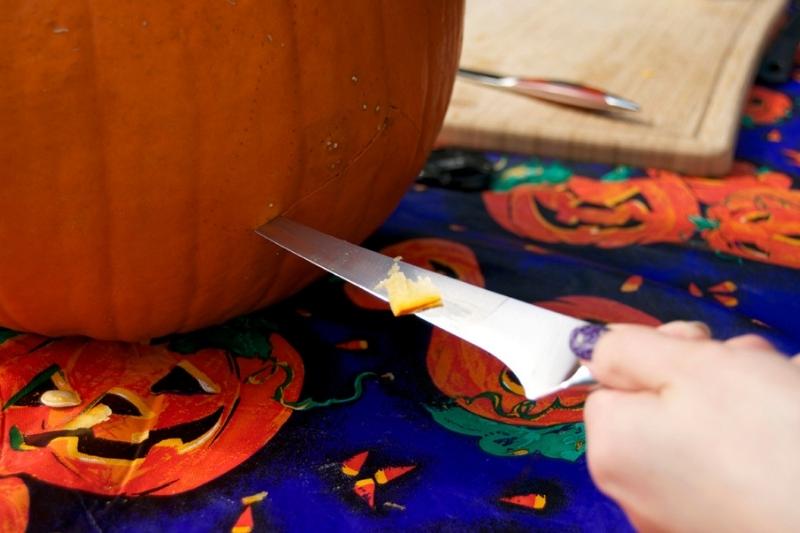
5. Make thoughtful, strategic cuts. We suggest starting with the smallest parts of your design. The paring knife, which features a short, easy-to-control blade, is a great detailing knife. For the larger sections, we found that the filet knife, with its thin and flexible blade, was best.
Picture
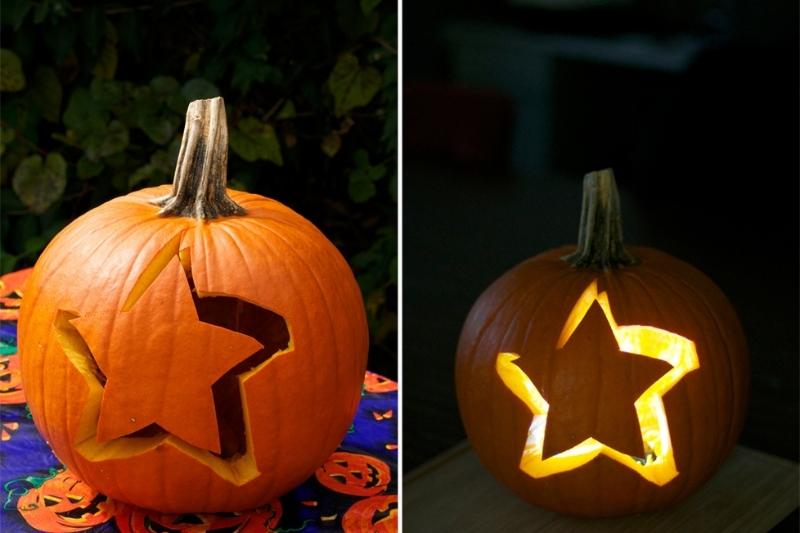
6. Polish off your jack-o-lantern design. When you're finished cutting and all the pieces have been removed, it's time to add the finishing touches. Use your paring knife to carefully shave any ragged edges or remove stray guts.

Jack-O-Lantern Design Ideas

Need design ideas for your Halloween pumpkins? Here are just a few designs you can try whether you're a beginner or a seasoned pumpkin carving pro! Simply scroll through the slideshow to see them all.
Picture

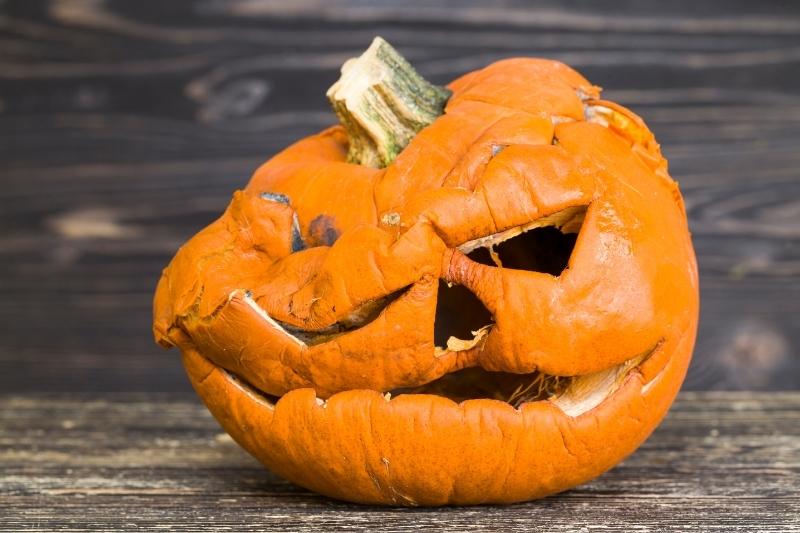
How to Keep Your Halloween Jack-O-Lanterns Fresh

Unfortunately, jack-o-lanterns don’t last forever. If you plan decorate your front porch with carved gourds this Halloween, then be sure to follow this advice for keeping your pumpkins fresh longer.

  • Store uncut pumpkin in a cool, dry location out of direct sunlight and heat. Hot weather can cause winter squash to rot faster. On the other hand, freezing temperatures can also be harmful. We recommend storing your gourds in a cool basement until you’re ready to use them.
  • To preserve a cut pumpkin, wrap it tightly in plastic wrap. Then store your jack-o-lantern in the refrigerator for up to three days before your party or Halloween trick-or-treating.
  • Fresh pumpkins last longer if they aren’t cut. Therefore, hold off on carving these Halloween decorations until closer to the holiday. A gourd that’s cut on October 1st likely won’t survive until the 31st.
  • To extend the shelf life of carved pumpkins, treat them with either bleach or a bleach substitute. To do this, simply mix one Tablespoon of bleach with a quart of water. Then combine in a spray bottle. Spray the solution onto both the interior and exterior of your carved creations, then allow it to air dry. If you want an eco-friendly alternative, try a combo of peppermint Castile soap and water instead.
Picture
  • Just as petroleum jelly helps protect skin from outside elements, it can also protect your pumpkins! Apply this product to all the cut edges of your jack-o-lantern as well as the inside of the pumpkin to prevent moisture loss. This can help keep your design from shriveling away into nothing.
  • For pumpkins that have prematurely dried before the occasion, you can soak them in water to help revive their original appearance. While this solution is temporary, it can freshen up your jack-o-lantern for that one last hooray. Simply soak it in a bucket of cool water for several hours, then drain.
If you enjoyed our post on how to carve Halloween pumpkins, then also be sure to check out tutorial on how to make a holiday charcuterie board.

Or, to discover more fun DIY projects, make sure to follow us on your favorite social media platforms. You can find Magnets USA on both Facebook and Instagram.

Comments are closed.

    Categories

    All
    DIY
    GIFTS
    GREETING CARDS
    HOLIDAYS
    Home
    LIFESTYLE
    MARKETING
    PRODUCTS
    SERVICES

    RSS Feed

Stay Connected

​MagnetsUSA.com
MinuteMailGifts.com

© 2023 Stickers Plus, LTD | Privacy Policy

Contact

720 Third Street
Vinton, Virginia 24179
800.869.7562

Email Us
Partner
  • Home
  • About
  • Blog
  • Products
  • Services
  • Marketing
  • Greeting Cards
  • Lifestyle
  • Holidays
  • Gifts
  • DIY